Lost PLA Casting
For the big project I want to cast aluminium. However, the first challenge in casting is making the mold, which can be tried out with lead as well. Lead has a very low melting point, and as such can be cast easily with a propane torch. For this trial, I used a small but fairly intricate model which I got off Thingiverse{:target="_blank"} - a small statue of an owl.
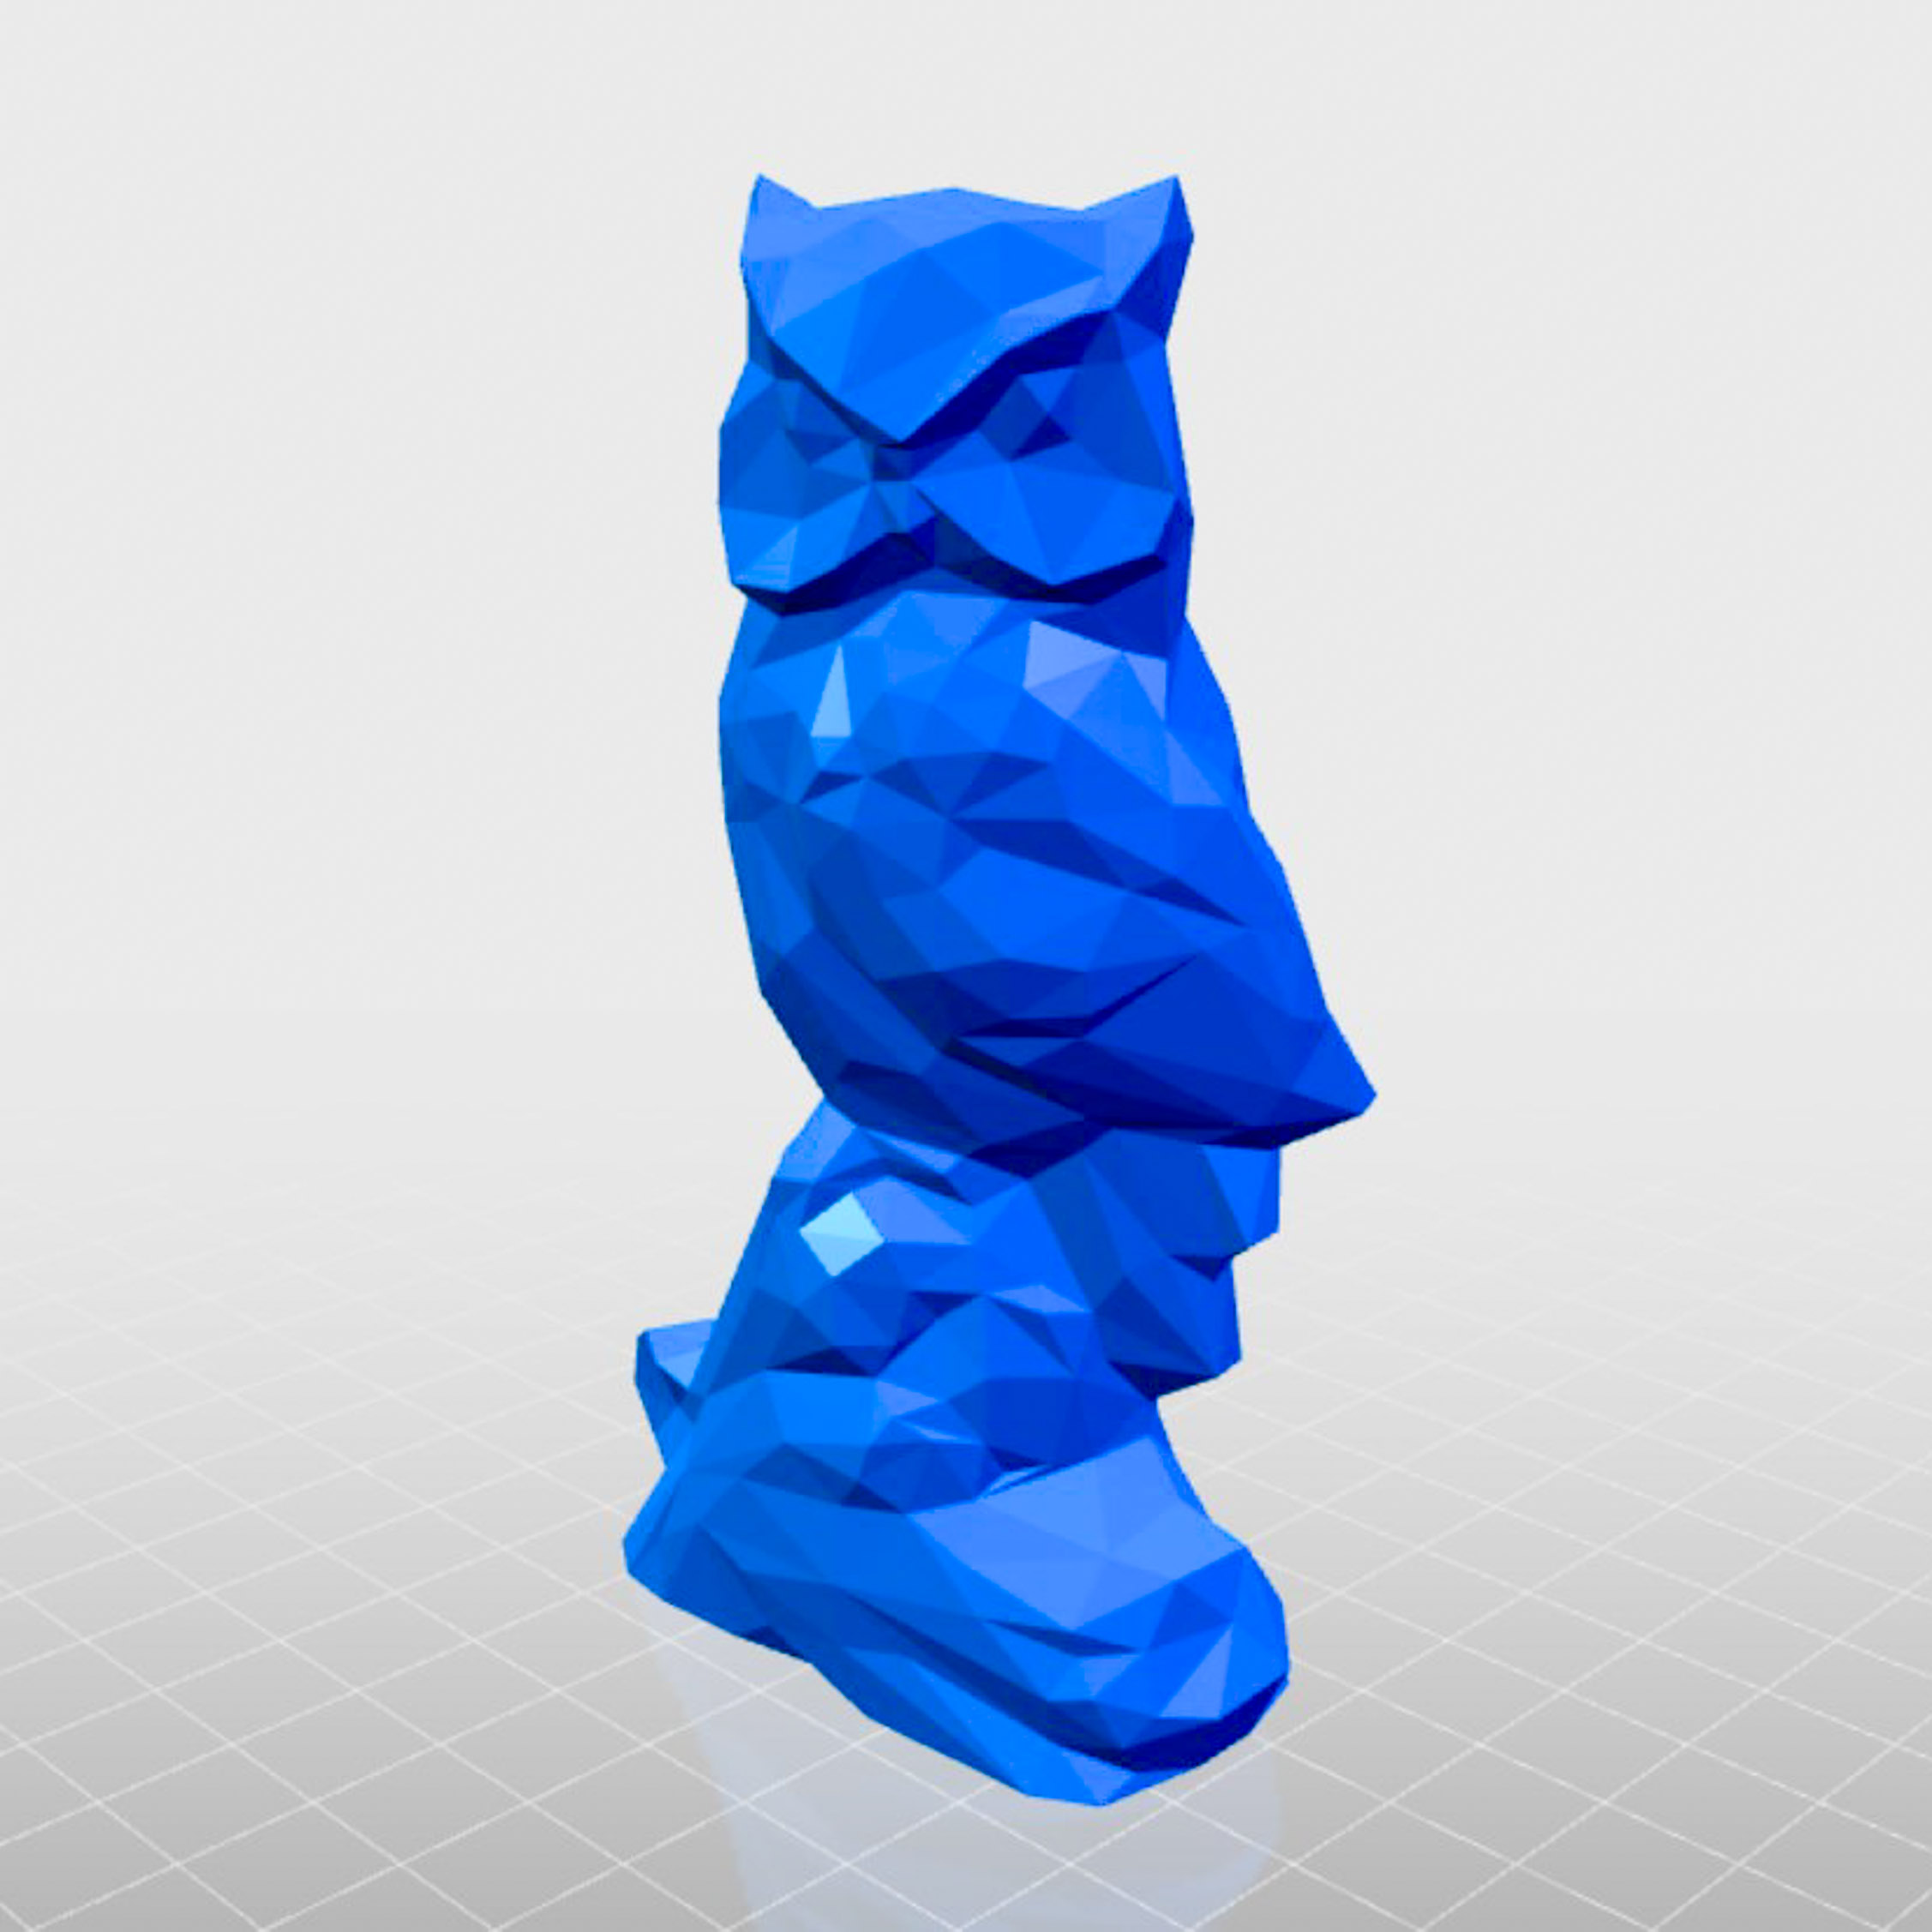
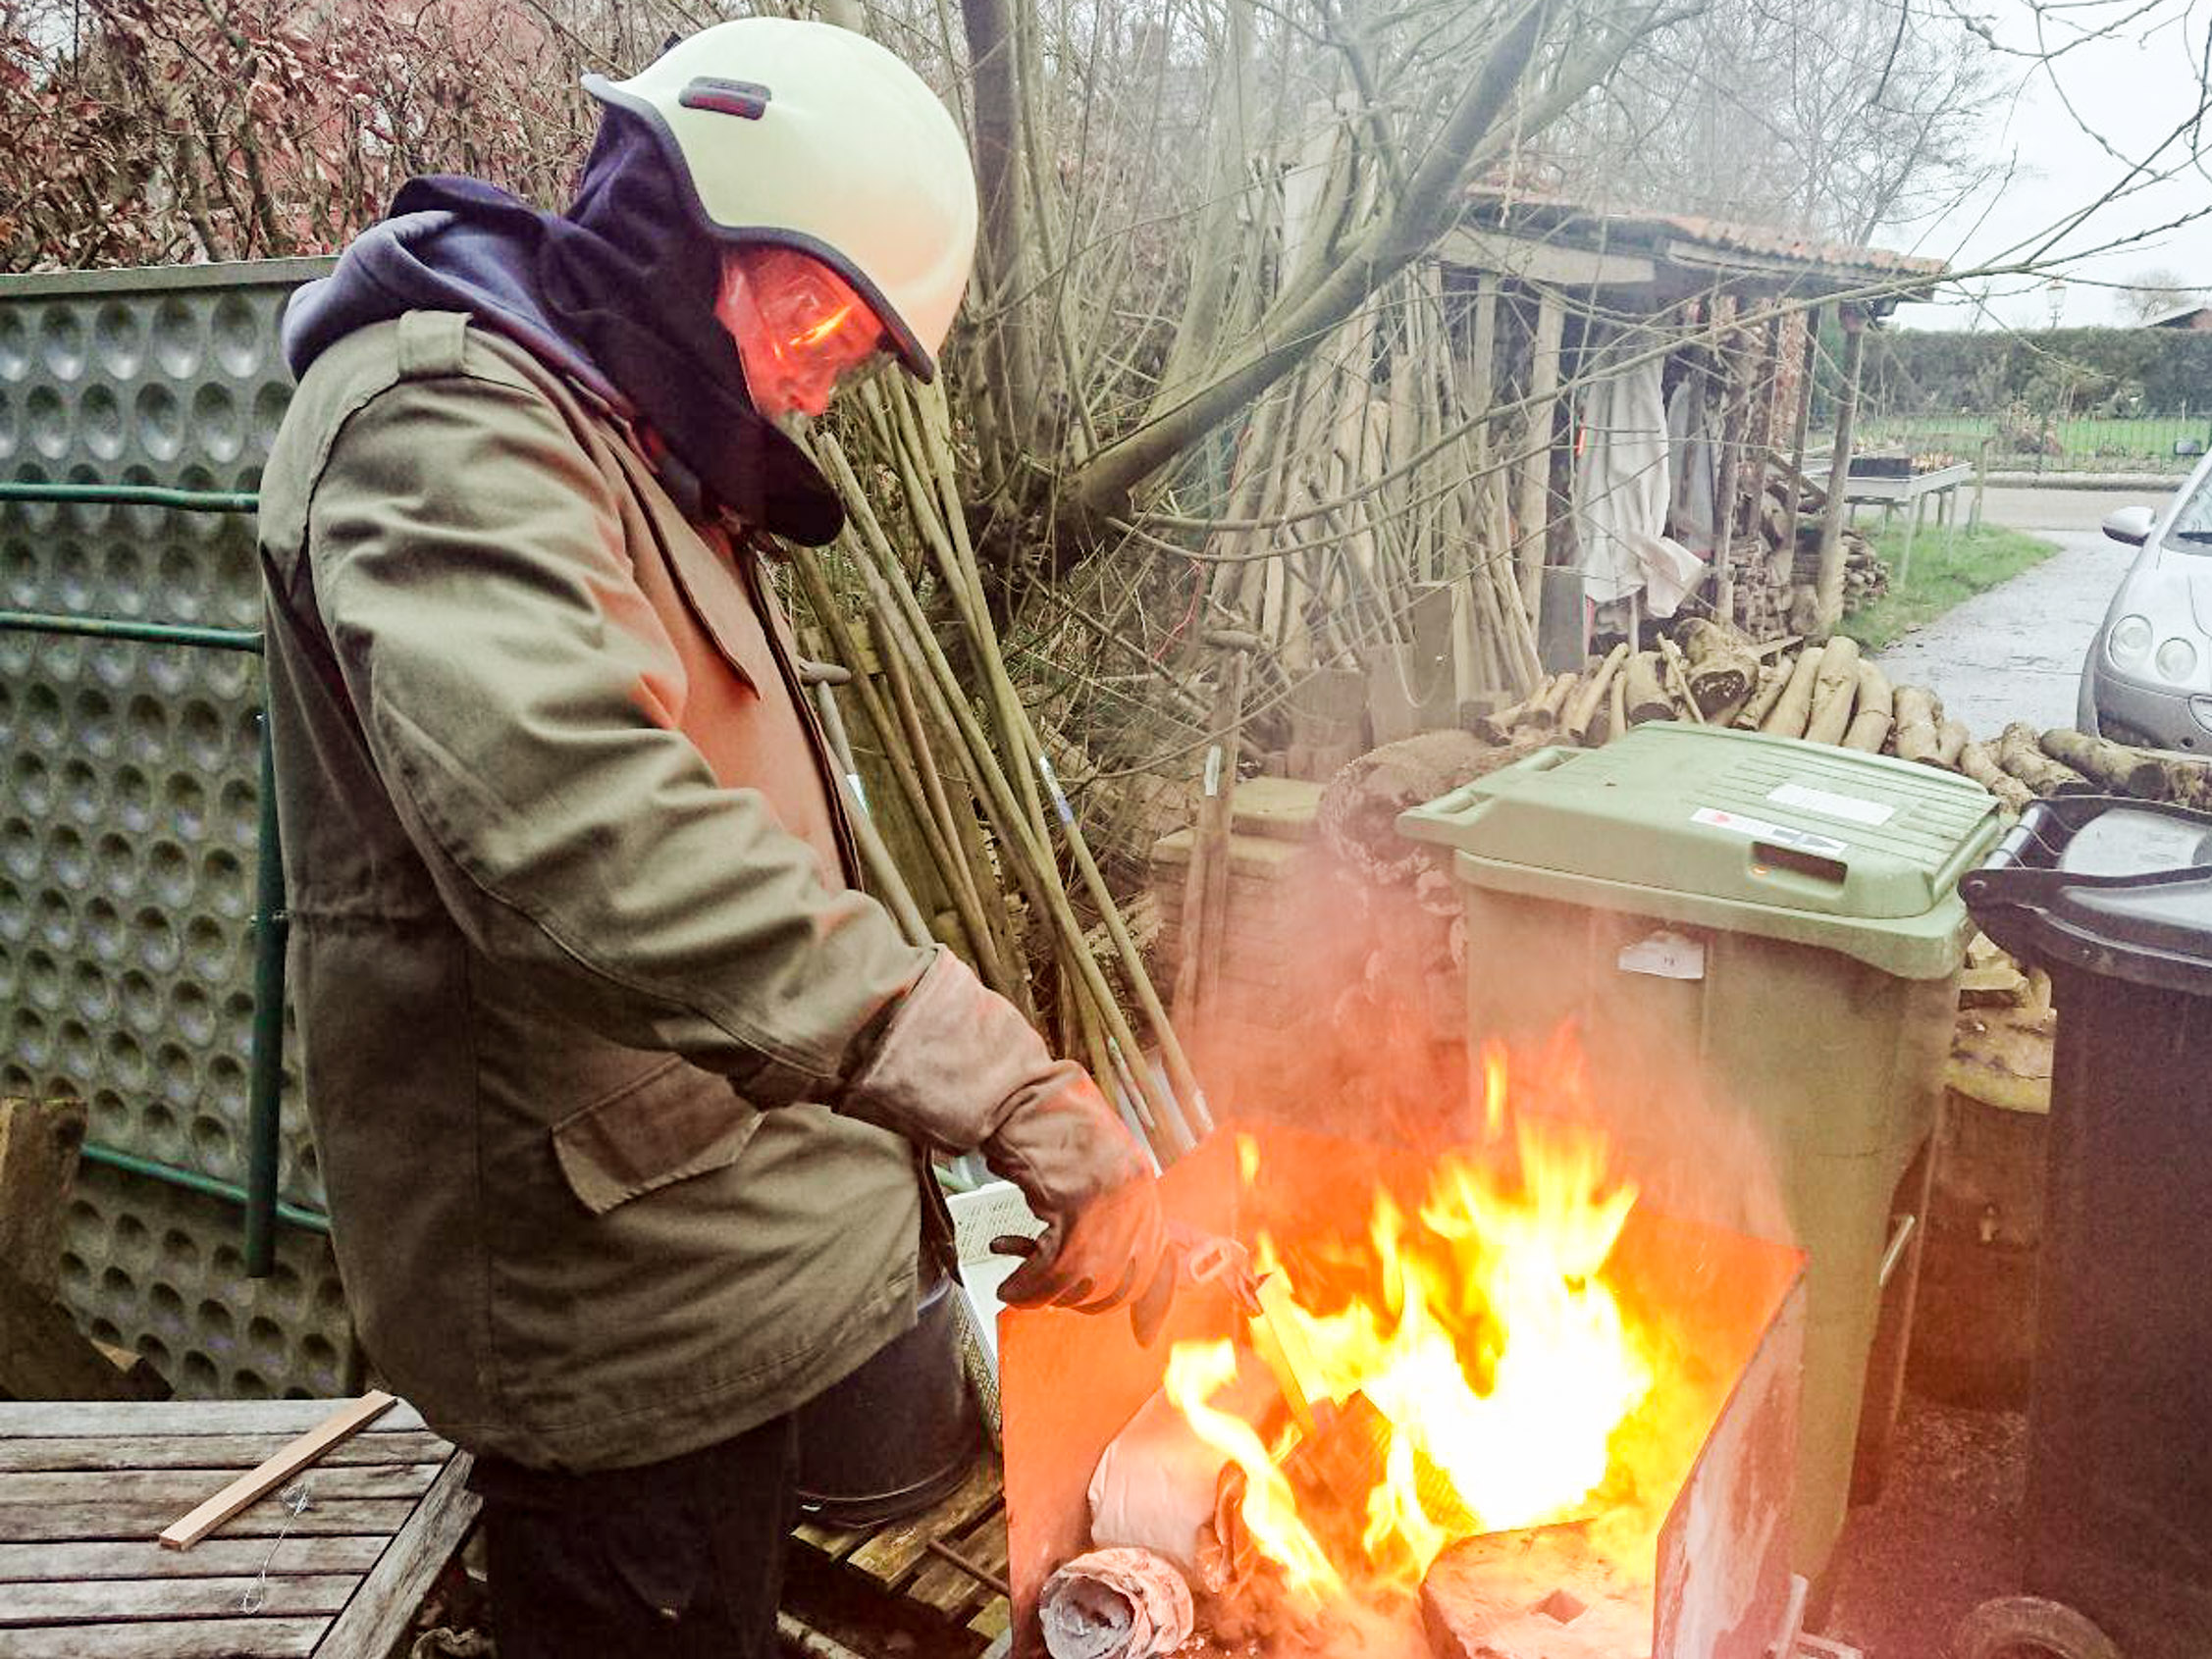
I did a poor job of documenting the moldmaking in pictures, so I’ll have to describe it. The 3d-print was hotglued to a small wooden plank upside-down, and lowered into a large single-use cup. The space in between was filled with gypsum, and left to harden. Even though the package states that it should harden in 24 hours, it was far from dry at that point. However, due to time constraints I had to move forward anyway. The mold was allowed to dry a bit more in proximity of a campfire over the course of a few hours. After this it was put with the hole down into the fire, to allow most of the PLA plastic to burn away. This process is very similar to lost-wax-casting, but the PLA has a higher melting point. It is only a thin shell though. With the shape of the model, this worked pretty well. After this it was heated on the inside with a propane torch a bit, to finish off most remaining bits. Due to the mold not yet being fully dried, (it remaining cool, almost wet to the touch) the smallest details weren’t cleared out of PLA. This is visible in the final results at the lower end of the eye region, where there’s a glossy area. Also the tip of the ears wasn’t fully formed.
Due to improper drying, the mold started to show small cracks, so I decided to halt the burning out process and proceed to casting. The mold was enclosed in sand on all sides, to prevent the mold breaking apart, and to hold in any seepage. The lead, some scraps of roofing lead, were put into an old soup ladle. Within a minute or so, all the lead was liquid, the dross was scraped off using some steel wire, and the pour was made.
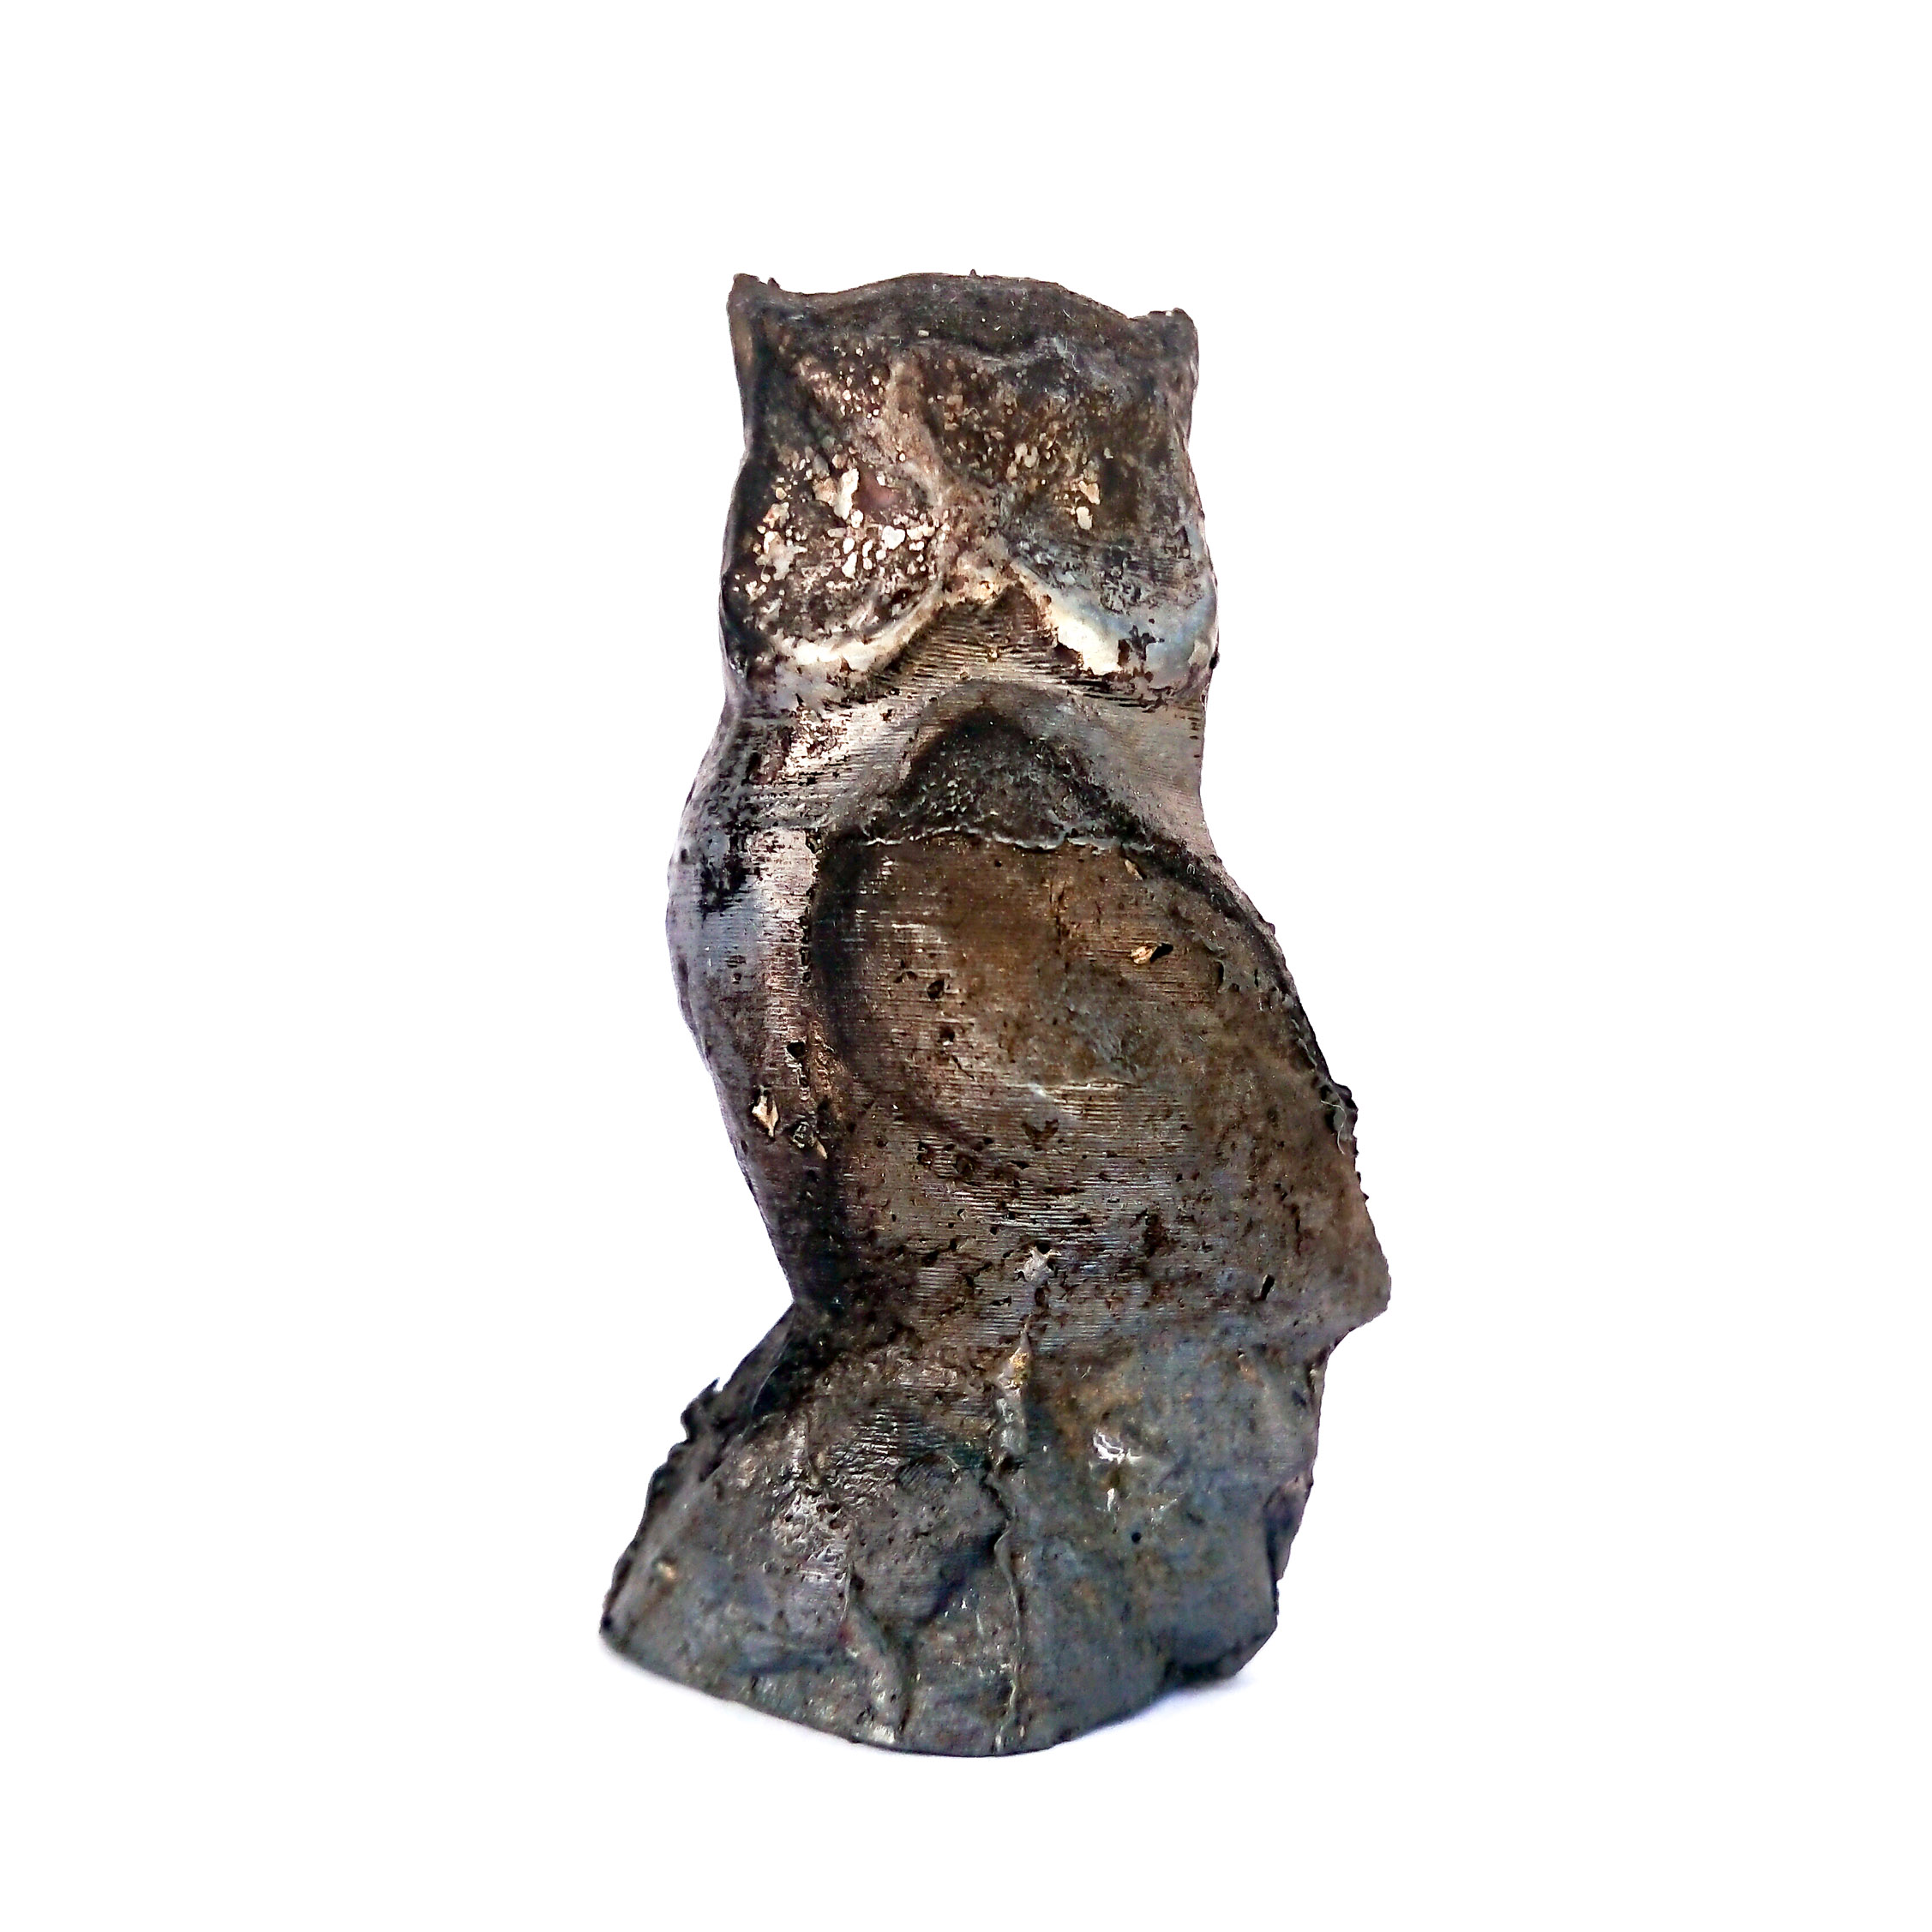
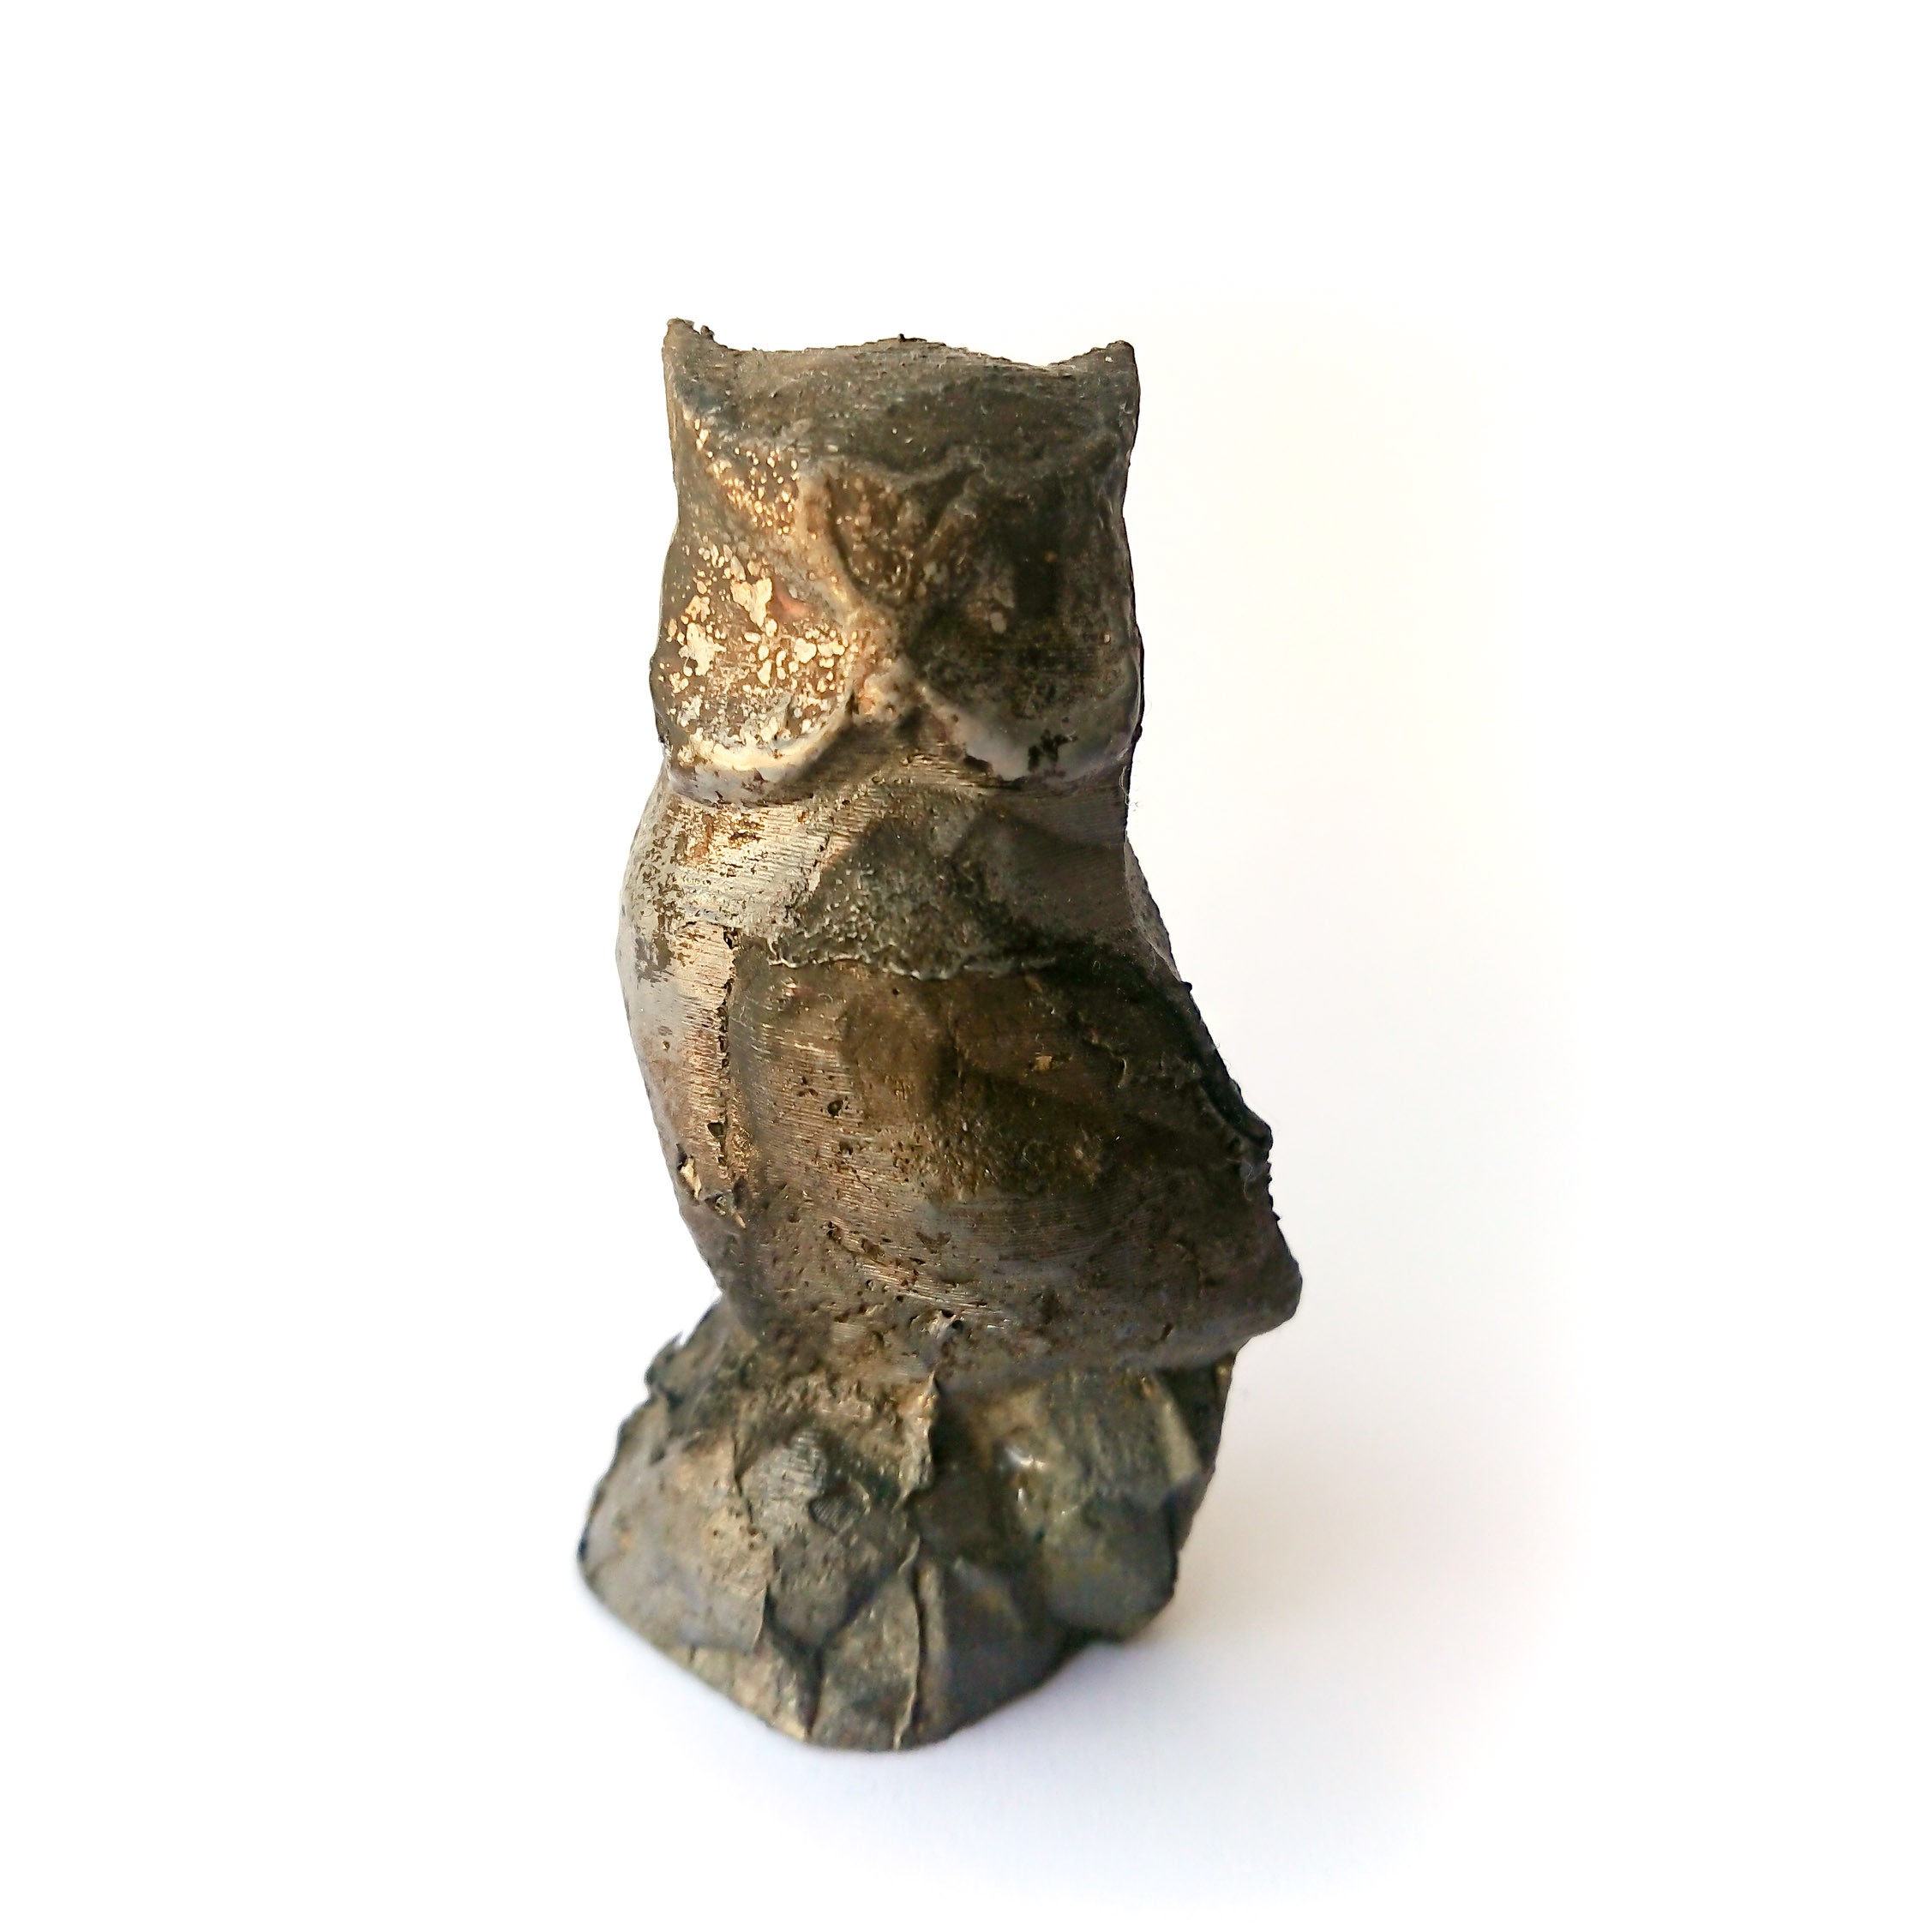
The resulting model is approximately 4cm high, and surprisingly heavy. It is solid lead after all.. The detail level that was able to be copied is really good- the individual layer lines are visible in most areas of the model, at a 0.2mm layer height. There are some small airpockets left at the surface, but none that would result in significant mechanical weakening of the part. These are likely also partially due to the mold not having dried fully. There are a few areas where detail is slightly lacking, due to some PLA remaining. Overall though, this was quite a successful test. There is some slight flashing visible where there were cracks in the mold, but nothing a bit of sandpaper won’t clean up if needed. The pictures shown are after only rinsing the model, and flattening the base! The base has a bit of a divot in it, due to there being no riser present.
Improvements to be made for a next casting are: -Allow more time for the gypsum to set -Thinner walled model, if possible (was now two layers, for approx. 1mm (0.4mm nozzle)) -Add a riser
 Melting aluminium is hard work
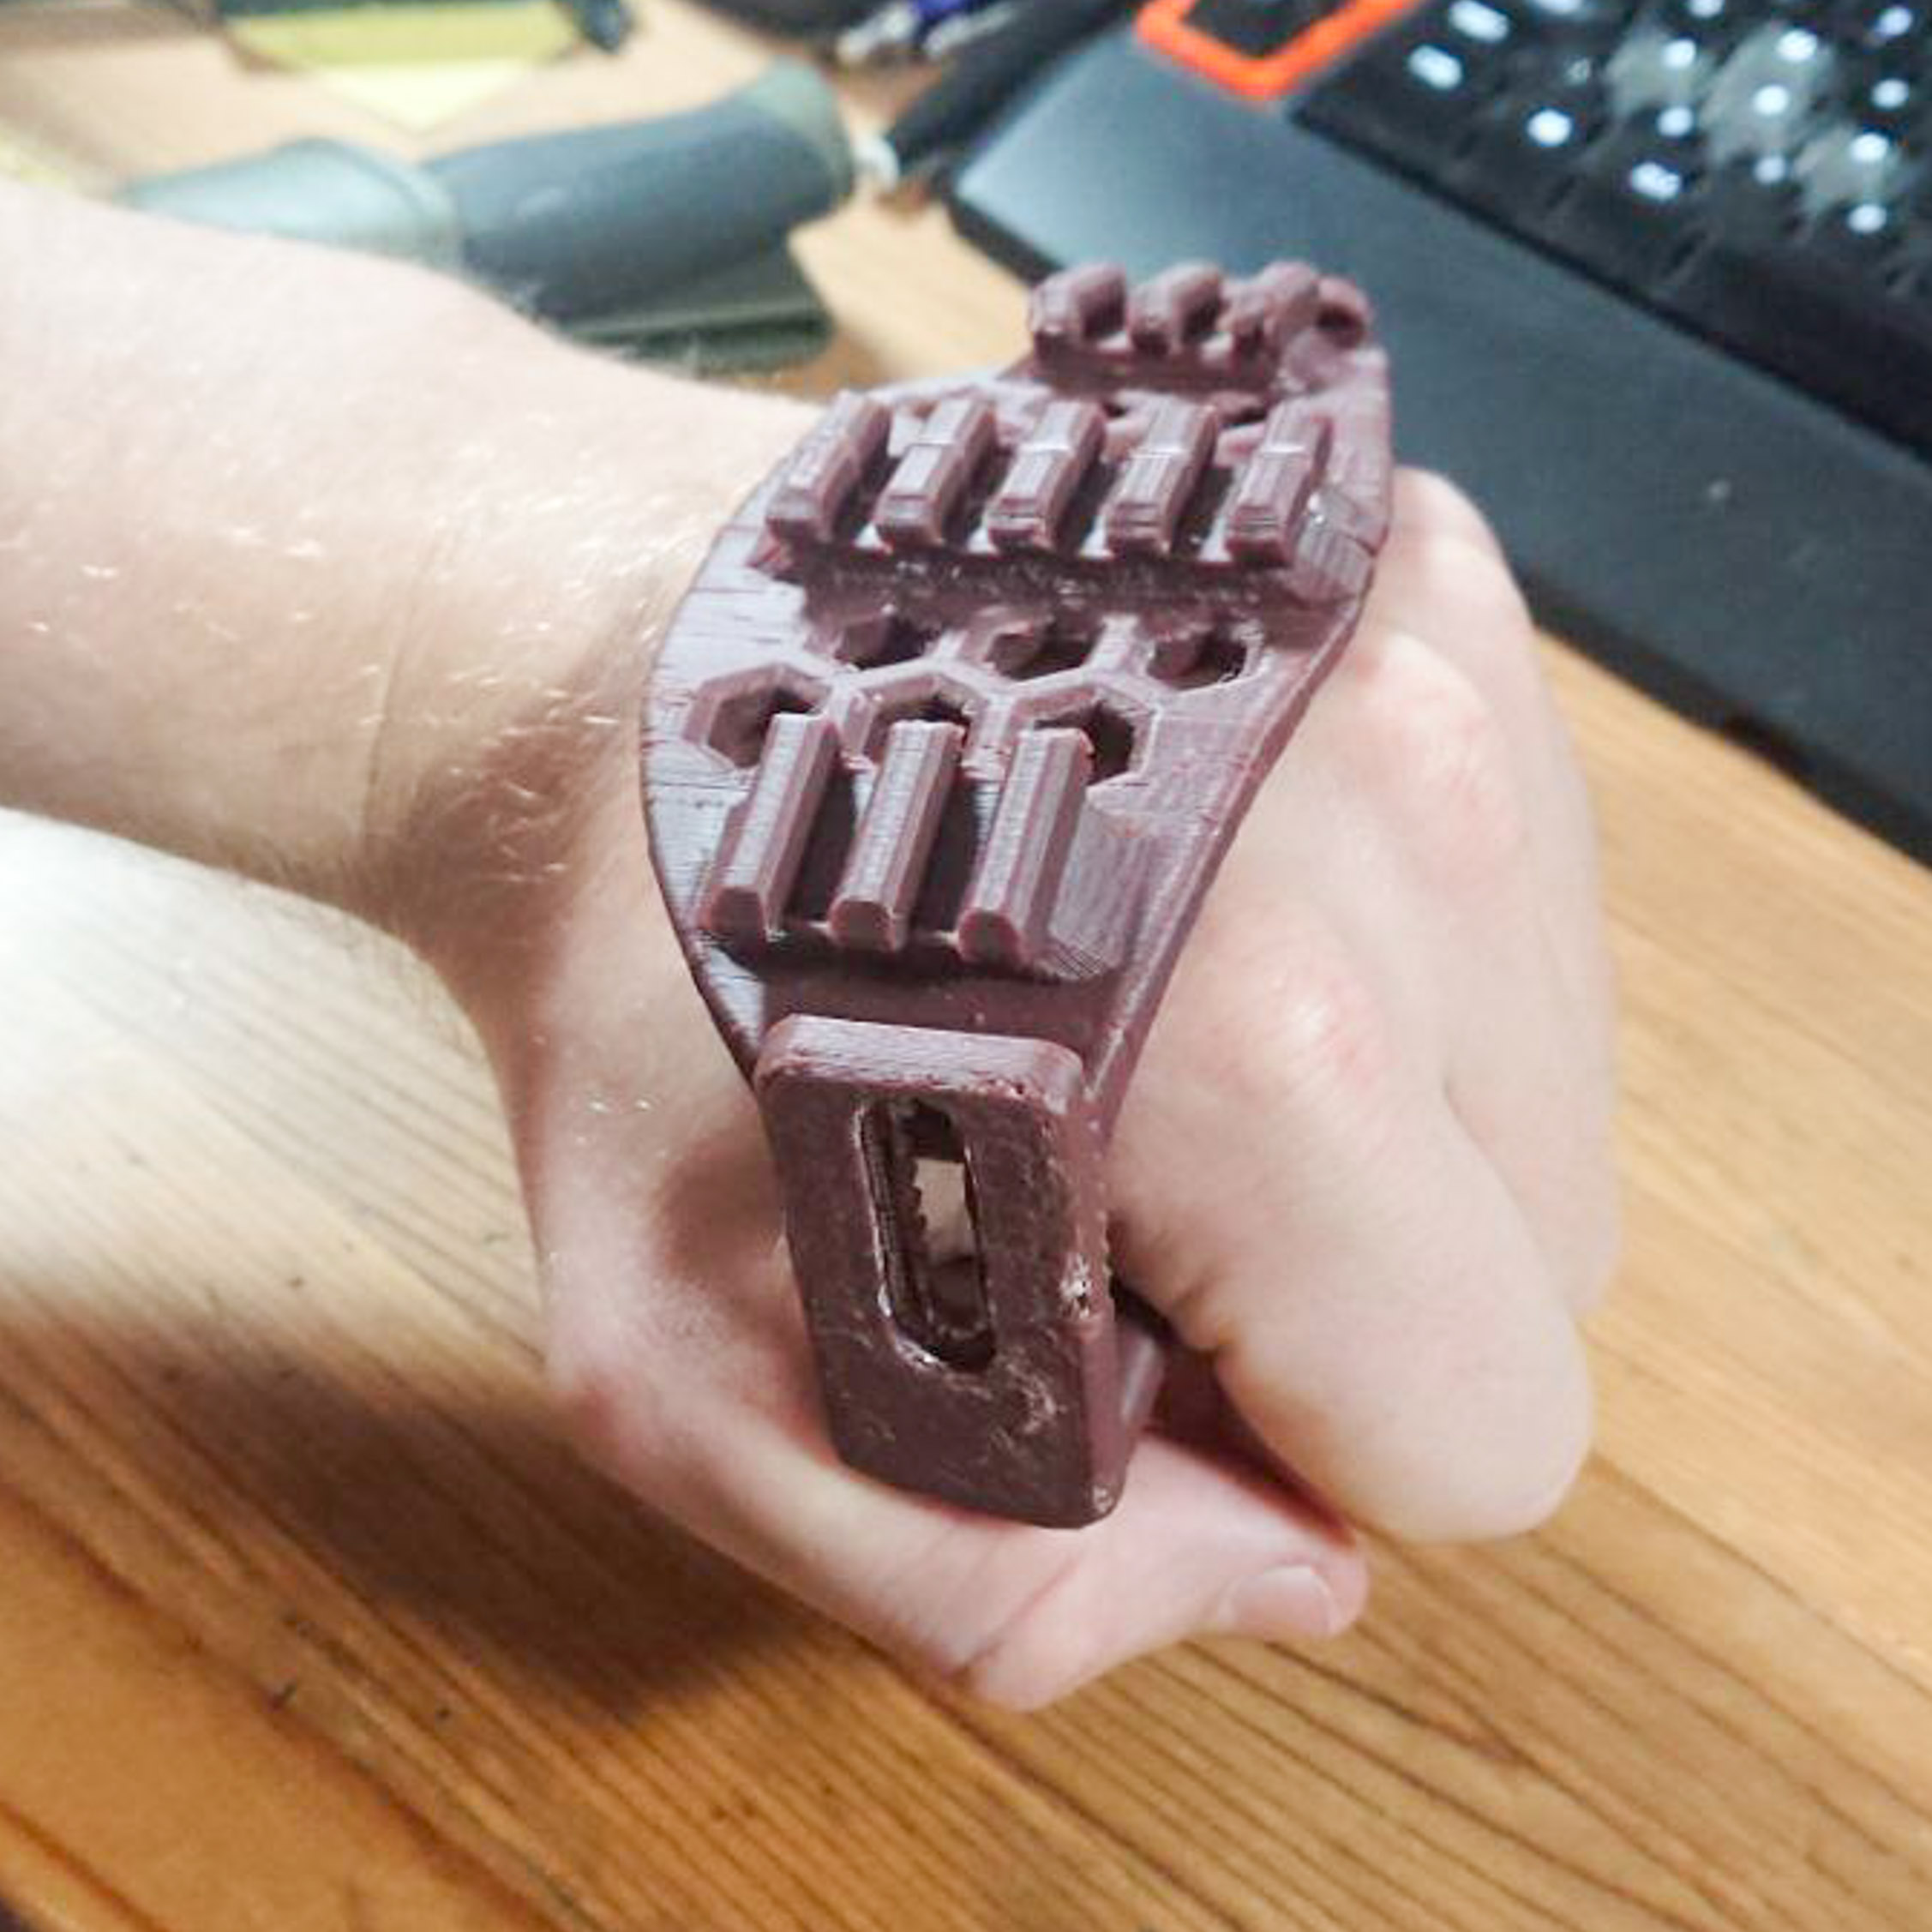
A prototype of the goodman handle design- on top the three picatinny rails, with holes in between to save material. The handle is somewhat "airfoil" shaped for nicer ergonomics, and also features holes to save material. To the side there's space left for a machinescrew to fasten the two pieces together; the plate-part has a space left out to use a nut as insert.